到了这里,docker已经差不多掌握了,不敢说多精通,但是平常使用是没有问题
同大多数Java的小伙伴一样,我们学习docker的最终目的就是想把项目打包成镜像,然后发布
步骤:
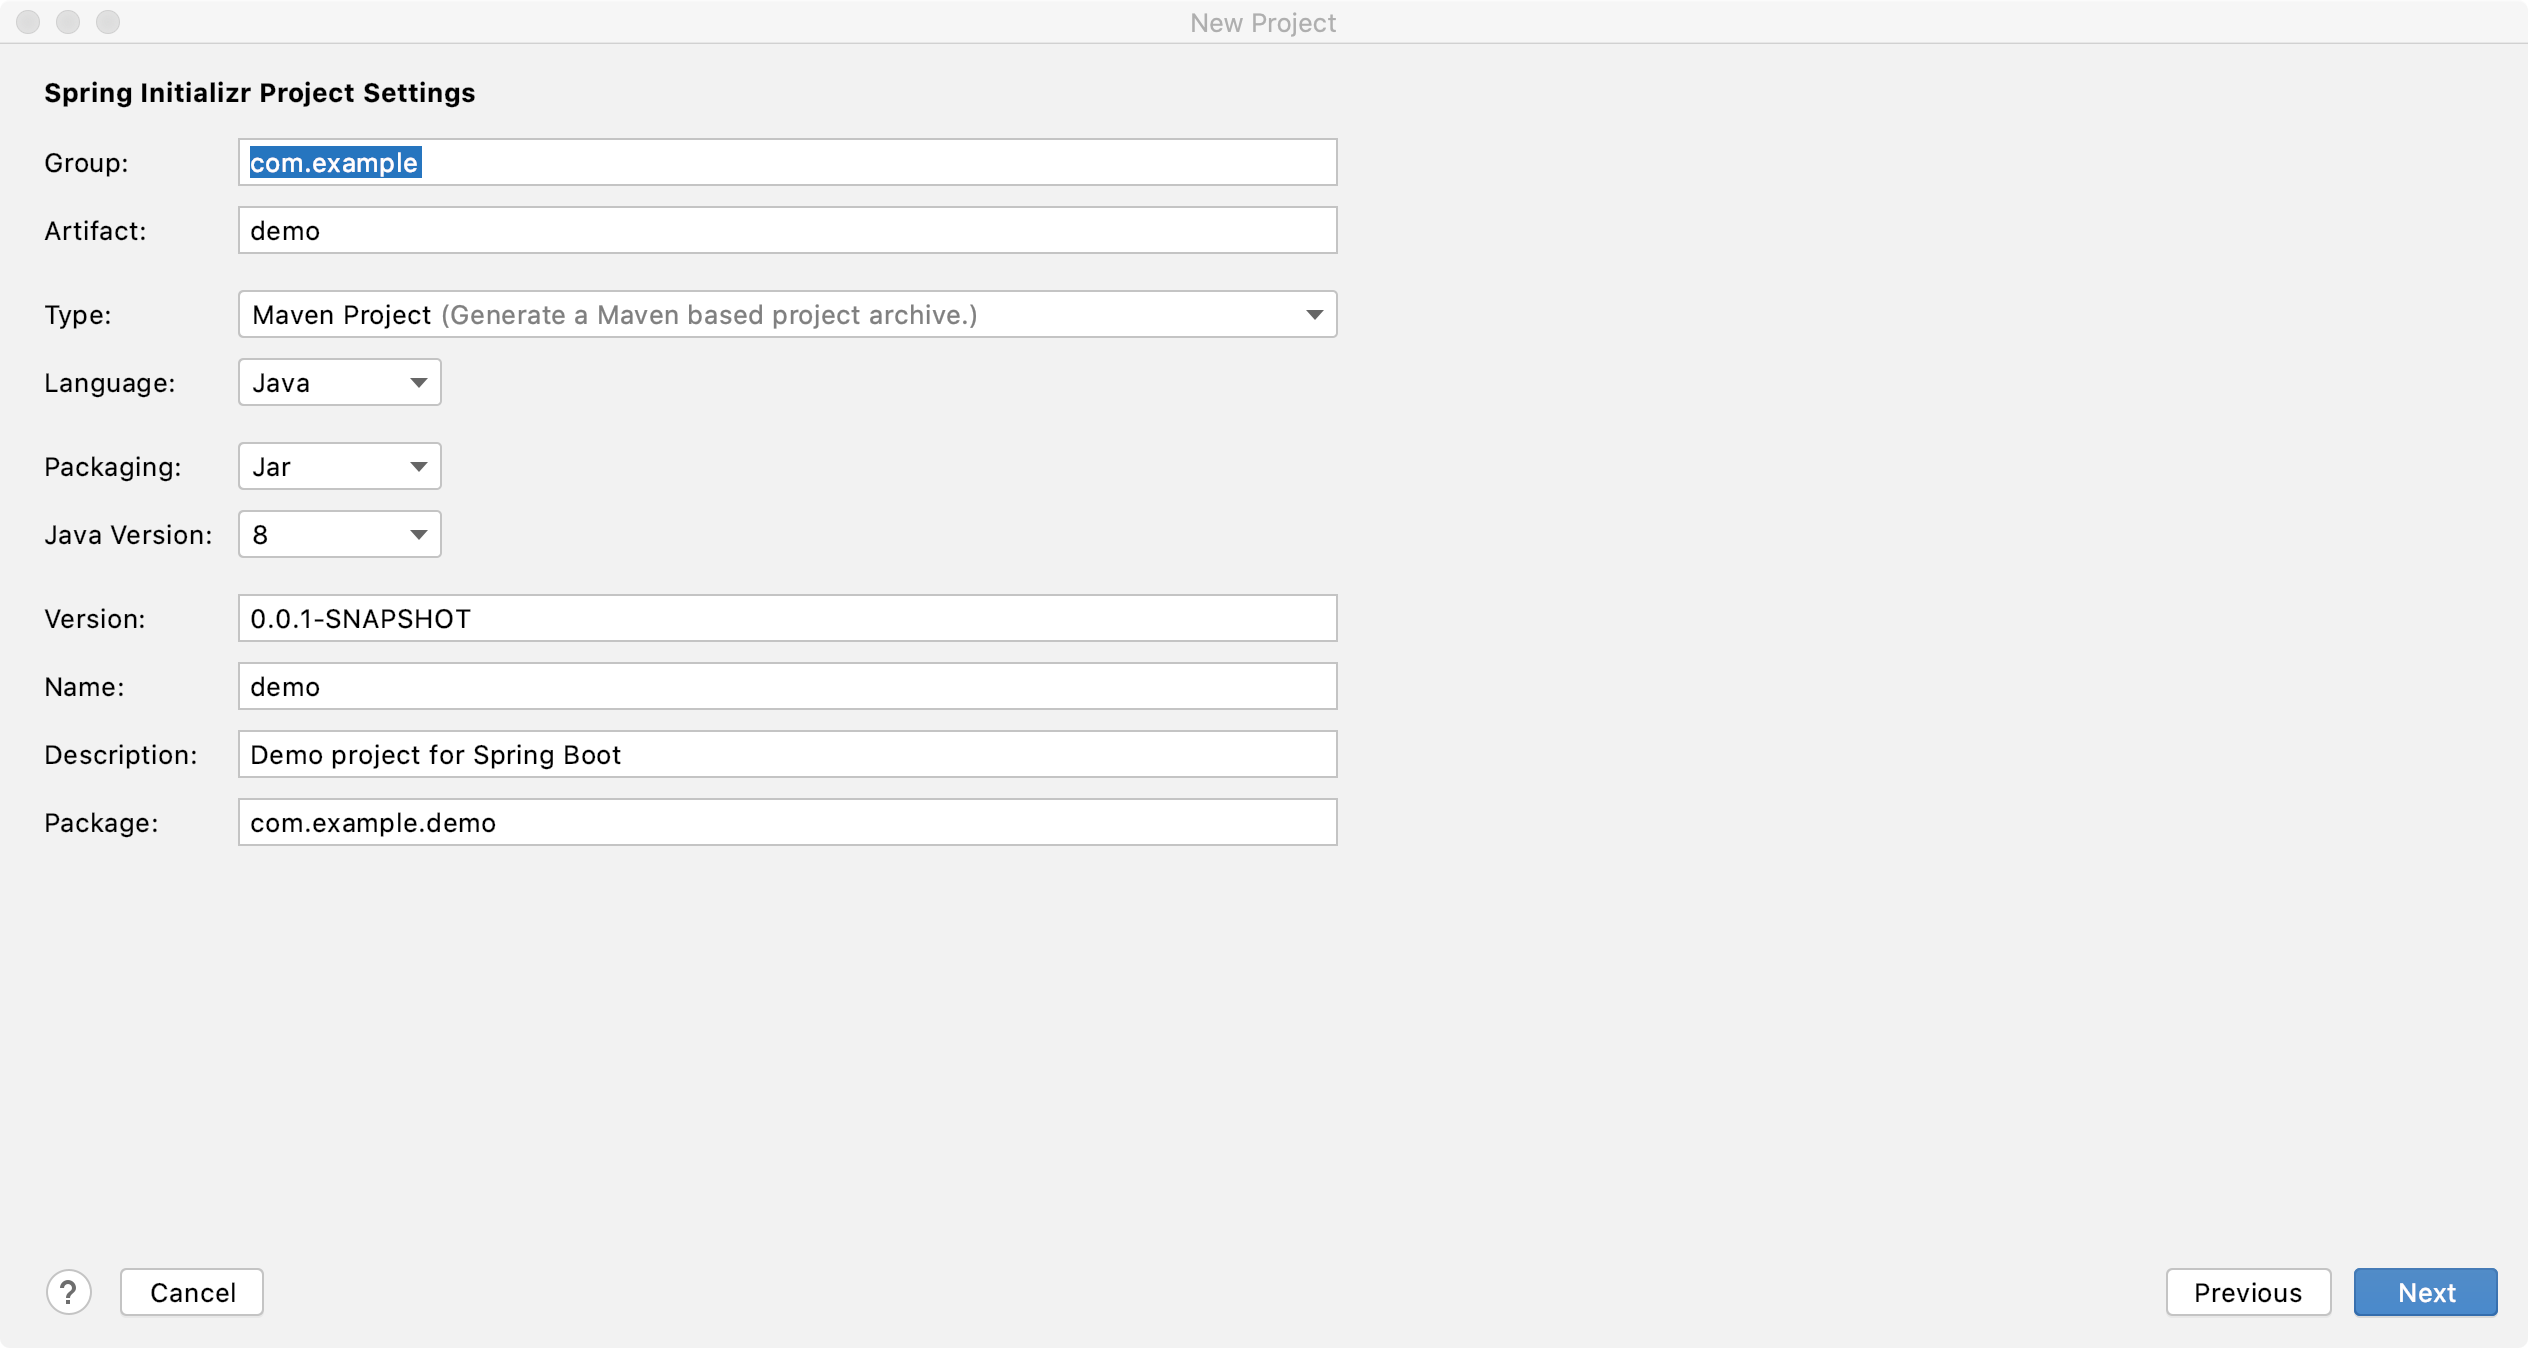
- 创建springboot项目
直接创建一个springboot项目,什么都不想改:

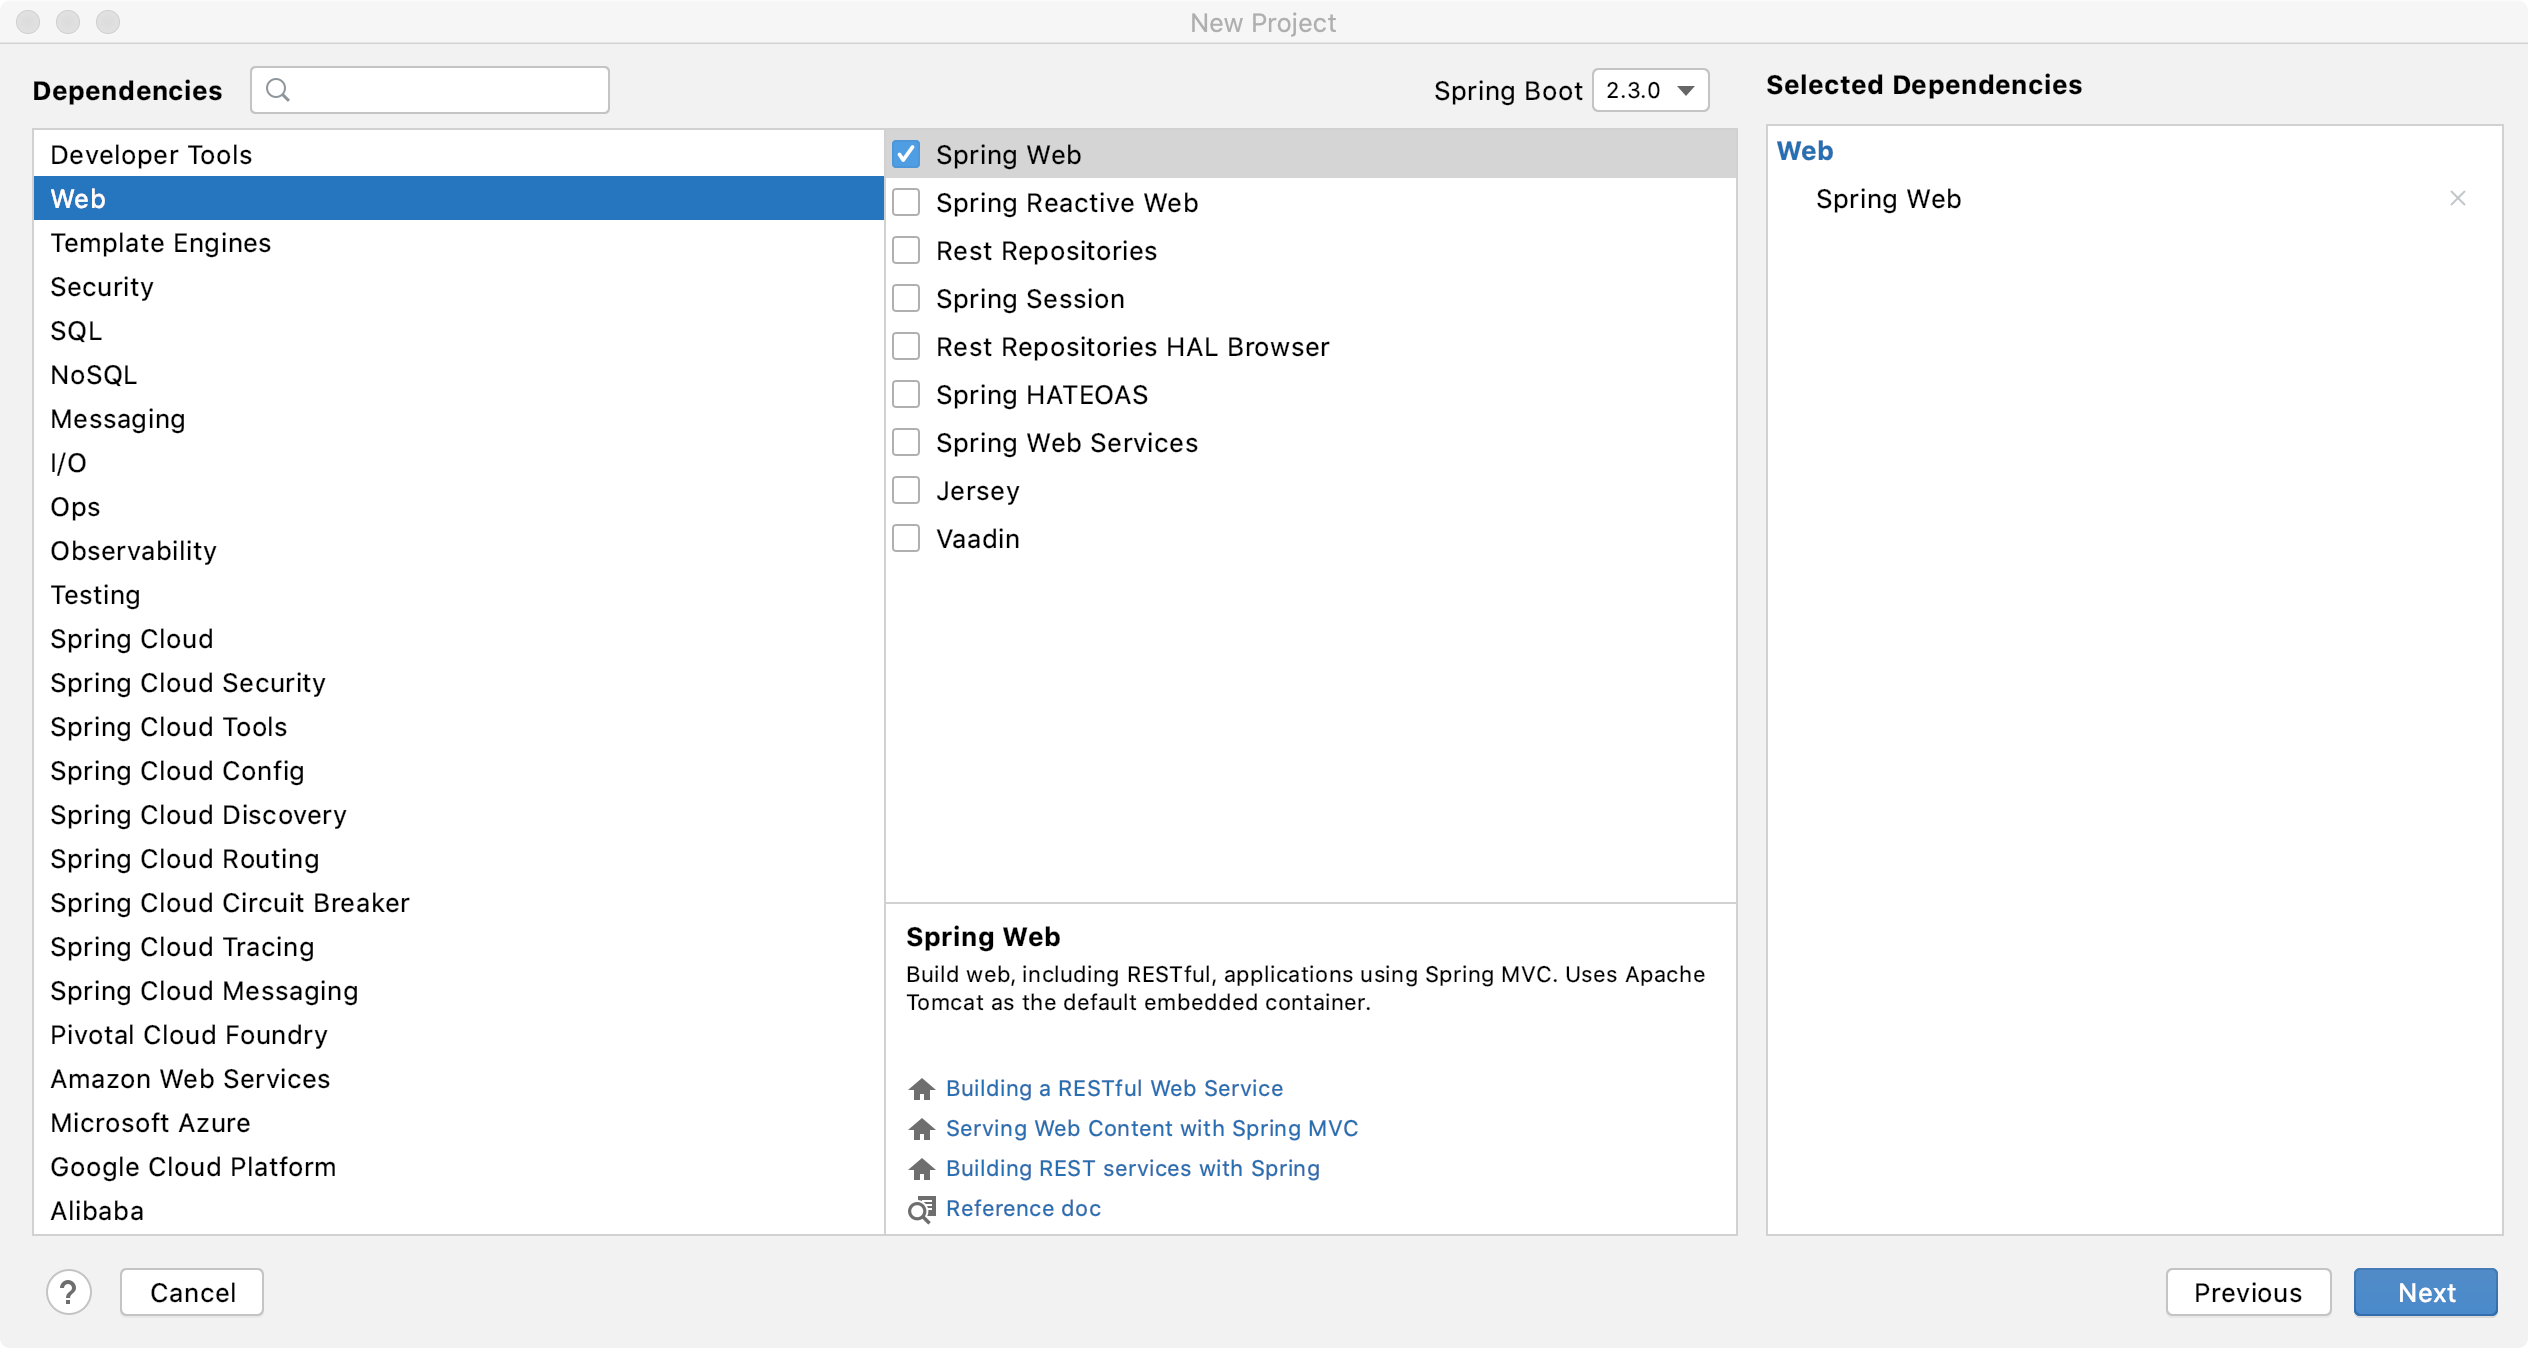
勾选一个web足以:

编写一个可以用的controller:
package com.example.demo.controller;

import org.springframework.web.bind.annotation.GetMapping;
import org.springframework.web.bind.annotation.RestController;

@RestController
public class HelloController {

    @GetMapping("/hello")
    public String hello() {
        return "hello,juning!!";
    }

}

2. 打包应用
mvn clean package
- 编写dockerfile
FROM java:8

COPY ./target/*.jar /app.jar

CMD ["--server.port=8080"]

EXPOSE 8080

ENTRYPOINT ["java", "-jar", "/app.jar"]
- 构建镜像
juning@MacBook-Pro demo % docker build -t demo_test .
Sending build context to Docker daemon  16.73MB
Step 1/5 : FROM java:8
8: Pulling from library/java
5040bd298390: Pull complete
fce5728aad85: Pull complete
76610ec20bf5: Pull complete
60170fec2151: Pull complete
e98f73de8f0d: Pull complete
11f7af24ed9c: Pull complete
49e2d6393f32: Pull complete
bb9cdec9c7f3: Pull complete
Digest: sha256:c1ff613e8ba25833d2e1940da0940c3824f03f802c449f3d1815a66b7f8c0e9d
Status: Downloaded newer image for java:8
 ---> d23bdf5b1b1b
Step 2/5 : COPY ./target/*.jar /app.jar
 ---> b294495c796a
Step 3/5 : CMD ["--server.port=8080"]
 ---> Running in 3a3b1d702636
Removing intermediate container 3a3b1d702636
 ---> a93599e08113
Step 4/5 : EXPOSE 8080
 ---> Running in bfb626eaa6ab
Removing intermediate container bfb626eaa6ab
 ---> aa3519e5ad3e
Step 5/5 : ENTRYPOINT ["java", "-jar", "/app.jar"]
 ---> Running in 4a91a55ac26c
Removing intermediate container 4a91a55ac26c
 ---> 2a1c8c83c145
Successfully built 2a1c8c83c145
Successfully tagged demo_test:latest
- 发布运行!
juning@MacBook-Pro demo % docker images
REPOSITORY          TAG                 IMAGE ID            CREATED             SIZE
demo_test           latest              2a1c8c83c145        4 minutes ago       660MB
tomcat              latest              1b6b1fe7261e        2 weeks ago         647MB
java                8                   d23bdf5b1b1b        3 years ago         643MB

# 运行
juning@MacBook-Pro demo % docker run -d -p 8080:8080 --name demo_test01 demo_test
270245c1441024239c95743345ff7a05880e356539f92427057bfbb874760d3c

# 测试
juning@MacBook-Pro demo % curl http://localhost:8080/hello
hello,juning!!%
至此,docker最基本的使用已经学习完毕!至于后面的docker compose、docker swarm、CI/CD自动部署后面有时间再接着学习完。